



How to Calibrate and Maintain Your Analytical Electronic Balance
 Nov 11, 2026|
 View:15
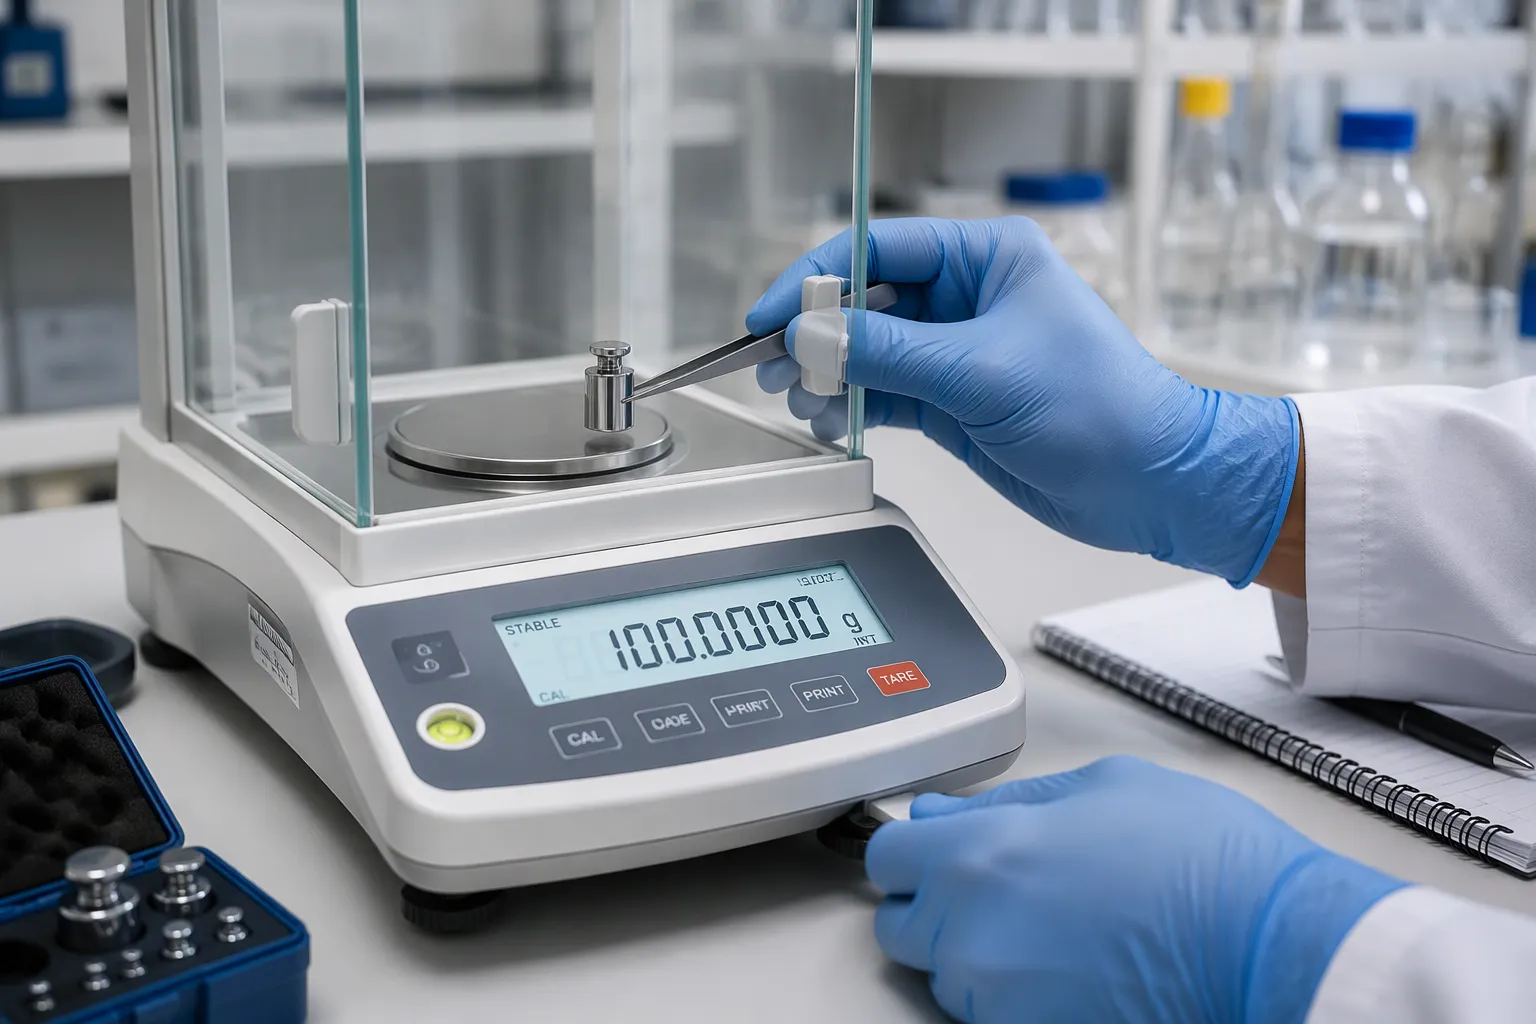
A balance that is not calibrated can quietly ruin your work. Wrong results end up in reports, audits fail, and costly samples are wasted. Accuracy depends on two key things: proper calibration and regular maintenance. This guide shows you how to prepare, calibrate, and check your analytical electronic balance, set a sensible schedule, and keep the electronic balance in top condition. You will also learn simple fixes for common accuracy problems. Follow each step with your own calibration routine, and your measurements will stay reliable.
Key Takeaways
Calibrate your balance on a regular basis so your readings stay accurate and you avoid costly mistakes.
Get the balance ready by putting it on a steady surface, leveling it, and letting it warm up.
Clean the pan and handle calibration weights carefully to keep accuracy.
Calibrate in a step-by-step way using certified weights, and then check the results.
Do daily upkeep and fix common problems to make the balance last longer.
Why Calibration and Maintenance Matter
The Cost of Inaccurate Readings
A balance that is not calibrated does not warn you about its errors. It just gives back numbers that look normal. You then make decisions based on those numbers. A formulation may slip out of specification. A batch may fail release testing. An audit may find readings that no one can trace back to a certified reference.
The damage goes further than one bad result. You may repeat an experiment, throw away a costly sample, or delay a shipment while your team looks into it. Each of these events costs time and money. None of them shows up on the balance display.
Calibration is the key service activity that keeps weighing results trustworthy. It ties your instrument to a known reference and confirms that the displayed value matches the true mass. Maintenance protects that accuracy over time. It also protects the instrument itself, so the balance serves you for many years.
WANT Balance Instrument Co., Ltd. makes precision balances and accessories for laboratories, schools, and industrial facilities. The company designs its instruments for steady performance and ease of use. Whatever brand sits on your bench, the principles below apply.
Accuracy, Compliance, and Lifespan
Regulated industries depend on measurements that are accurate, reliable, and compliant. Auditors want evidence that your analytical balance was calibrated, when it happened, and which weights were used. A complete record turns a routine check into proof of control.
Good habits also make the instrument last longer. Dust, spills, and rough handling wear down sensors and pans. A level balance and a clean chamber reduce strain on the mechanism. These small actions protect both your data and your investment.
High-precision measurements reward consistency. The same balance, treated the same way each day, gives you results you can compare across weeks and months. Treat calibration and maintenance as one routine, not two separate chores. That mindset supports precise measurements in every session and keeps your analytical balances ready for work.
Preparing to Calibrate an Electronic Balance
Stable Surface and Warm-Up
Good preparation decides whether your calibration holds. Start with the location. Place the balance on a stable, level surface. A sturdy bench works well. Avoid spots near doors, vents, or vibrating equipment. Check the built-in level indicator and adjust the feet until the bubble sits in the center. A tilted instrument reads low or high, and no calibration can fix that error.
Next, let the instrument warm up. Electronic parts need time to reach a steady internal temperature. Turn the balance on and leave it alone before you calibrate an electronic balance. Follow the warm-up period in your manual. A cold sensor drifts, and the drift shows up as a false reading. Keep the draft shield closed during this time. Stable conditions give you a stable zero point.
Cleaning Pan and Weights
Clean the weighing pan before every calibration. Remove dust, powder, and spills with a soft brush or a lint-free cloth. Handle the pan with care, and never press down on it. Residue adds mass that the sensor registers as part of the load. A clean pan gives you a true starting point.
Your calibration weights deserve the same attention. Touch certified calibration weights only with gloves or forceps. Skin oils and fingerprints change their mass over time. Wipe balance calibration weights with a soft cloth, and store them in their case. Check that the certificate is current before you use them. For analytical balances, keep a dedicated set of calibration weights and log each use. This habit protects traceability and keeps your analytical balance ready for precise work.
Electronic Balance Calibration, Step-by-Step
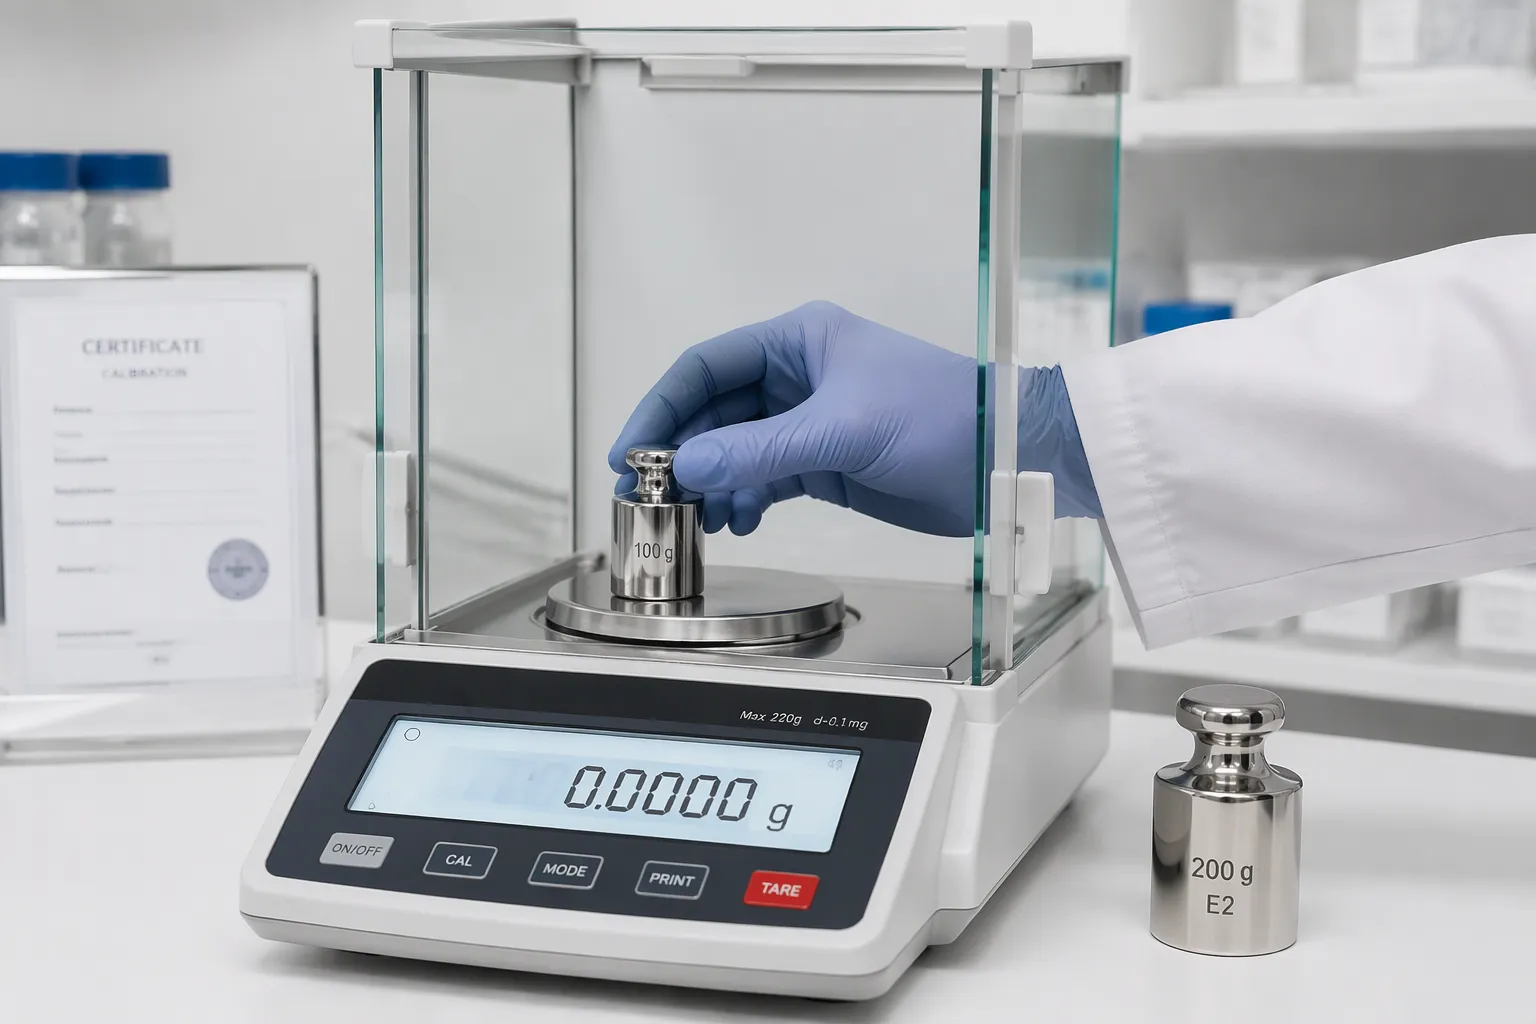
How to Calibrate Balances and Scales
This step-by-step guide on how to calibrate balances and scales works the same way on almost every model. Read your manual first, because button names are different between brands. Then work through these steps:
Turn on the analytical electronic balance and let it finish warming up. Check that the display shows a stable zero.
Enter calibration mode the way your model's instructions describe. On many units, you press and hold a special key, or you open a menu.
Pick calibration on the display menu. Some models call it "CAL" or "Span."
Gently place the specified certified calibration weight in the center of the pan. Close the draft shield and wait for the display to settle.
Take off the weight when the balance tells you to. The instrument saves the new reference point.
Check the readout. Place the weight again and make sure the displayed value matches the weight's nominal mass within your tolerance.
This sequence gives you accurate and reliable calibration on most lab models. Repeat the check with a second weight when your procedure asks for it. That extra check catches errors a single-point calibration can miss.
Internal vs. External Methods
Internal vs external calibration is the main choice you face. Internal calibration uses a motor-driven weight built into the instrument. You press a key, and the balance runs the routine by itself. This method works well for busy labs, routine analytical weighing balance calibration, and daily checks between full services. It is fast and removes operator handling errors.
External calibration asks you to do external calibration with weights you supply. You place external certified weights on the pan yourself. This method fits regulated work, annual verification, and any case where an auditor wants to see traceable weights. The external calibration process also lets you test the full weighing range, not just one built-in point.
For either method, use high-quality calibration weights. Choose ASTM- and OIML-compliant calibration weights that match your balance's readability and capacity. Store balance calibration weights in their case and handle them with gloves. A calibration certificate reports the measurement uncertainty of each weight. Check that figure against your tolerance before you use calibration weights in a formal calibration. Good weights make accurate calibration possible. Poor weights quietly limit the accuracy of every reading that follows.
A practical routine combines both. Run internal calibration daily on your analytical balance, then do external calibration with certified calibration weights on a set schedule. This pairing keeps the electronic balance honest between service visits and gives you records that hold up in an audit.
Setting Your Calibration Frequency
Factors That Affect Frequency
No single schedule works for every lab. How often you calibrate depends on three things: how much you use the balance, the conditions in your workspace, and what the manufacturer recommends. A balance that runs all day in a busy quality lab needs more frequent checks than one used a few times a week in a classroom.
Your environment matters just as much. Drafts, temperature changes, vibration, and dust all push readings off course. A bench near a door or a heater will drift faster than one in a quiet corner. Track how often you see drift, and let that pattern guide your schedule. The manufacturer's manual gives you a baseline. Treat it as a starting point, then adjust it for your real conditions.
Regular calibration checks keep your electronic balance calibration on track. Do not wait for a failed audit or a strange result to act. A short check between full services catches problems early and protects your accuracy.
Building a Schedule and Records
Write your schedule down, and post it where operators can see it. Set daily, weekly, and periodic tasks. Daily internal checks, scheduled external calibration, and annual service all belong on one calendar. Assign each task to a named person, so nothing slips.
Records turn a routine into proof. Keep a log for every calibration event. Note the date, the operator, the weights used, and the result. Keep calibration certificates for as long as your quality system requires. Store them with the balance's service history, not in a loose folder.
Handle the instrument well between events. Keep the draft shield closed, avoid moving the balance, and clean the pan after each session. These habits support accurate calibration and steady accuracy over time. A clear schedule and a complete log protect your data and make every audit easier.
Maintaining Your Analytical Electronic Balance
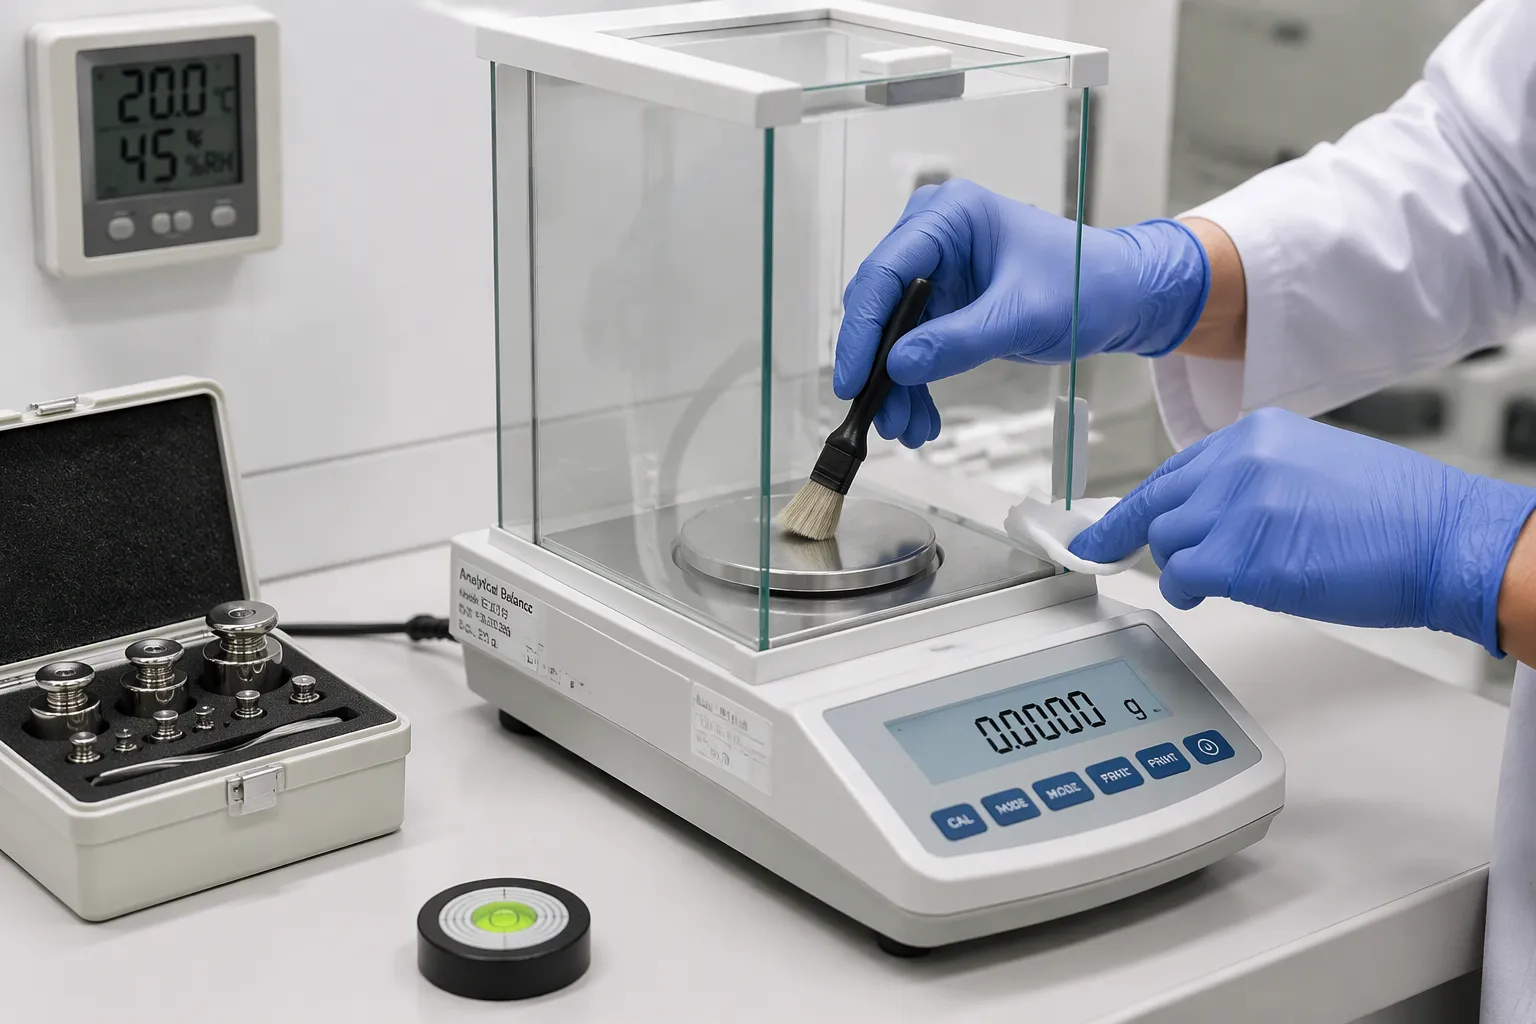
Daily Care and Proper Handling
Daily maintenance starts with a clean workspace. Wipe the bench around the instrument each day. Dust and spilled powder settle into the chamber and onto the pan. Use a soft brush or a lint-free cloth. Never spray cleaner directly on the analytical electronic balance. Apply it to the cloth first, then wipe gently. Clean the pan after every session, especially after you weigh powders or liquids. Residue hardens over time and adds mass to every reading. Lift the pan out when the manual allows it, and check the space beneath for spills.
Check the level indicator every morning. Adjust the feet until the bubble sits in the center. A level instrument distributes the load evenly across the sensor. Move the electronic balance only when you must. Lift it from the base with both hands. Never carry it by the pan or the draft shield. A sharp knock can shift the sensor and cost you accuracy. Set the instrument down softly, and give it time to settle before you weigh anything.
Keep the draft shield closed between weighings. Close the doors slowly during a reading. Air currents push the display around and slow the settling time. Store calibration weights in their case, and handle them with gloves or forceps. Log each use so traceability stays intact. Keep the case away from heat and moisture. Good daily maintenance also means checking the power cord and connections.
A few professional habits stretch the life of your analytical balances. Schedule external calibration on a fixed date each quarter or year, based on your usage. Run a quick check with a certified weight between those visits. Keep the room at a steady temperature and away from direct sunlight. Let the instrument warm up after you power it on. Wear gloves when you handle samples near the chamber. A stable room protects the analytical electronic balance from thermal drift.
Troubleshooting Common Issues
Most accuracy problems have simple causes. Work through this list before you call for service:
The display drifts or will not settle. Check for drafts, vibration, or a door left open. Close the shield and move the balance away from vents.
The reading is consistently high or low. Recheck the level, then clean the pan. Run a fresh calibration.
The zero point wanders. Let the instrument warm up longer. Confirm the surface is stable.
Results differ between operators. Review handling habits. Teach everyone to use gloves and forceps.
An error code appears. Look it up in the manual before you press more keys. Many codes point to a simple fix, such as an overloaded pan or an open door.
Avoid common calibration mistakes to avoid wasted effort. Do not calibrate a cold instrument. Do not use weights with expired certificates. Do not skip the verification step after you calibrate an electronic balance. Each shortcut hides an error that shows up later in your data.
When a problem persists after these checks, stop weighing and contact service. A failing sensor will not fix itself. Early repair protects your samples and your analytical balance. Keep a log of every issue and the fix you applied. That record helps the next operator and speeds up service calls.
Calibration keeps your readings accurate. Maintenance keeps your instrument working. Together, they are the two pillars of dependable weighing.
A steady routine protects your data and makes your electronic balance last longer. Prepare the bench, run the calibration, check the result, and maintain the instrument. Each step supports the next.
Now is a good time to look at your current schedule and maintenance log. Check the dates, confirm the records, and fill any gaps. A small review today prevents a costly surprise tomorrow.
FAQ
How often should you calibrate an analytical balance?
How much you use it, your workspace, and the maker's advice set the pace. Run internal calibration every day, then plan external calibration with certified weights at set times. A busy lab or a room with drafts needs more checks. Watch for drift patterns and tighten the schedule when readings start to wander.
Do you need to recalibrate after moving a balance?
Yes. Moving an instrument can shift the sensor and change the level. Put it on a stable surface, adjust the feet until the bubble centers, and let it warm up. Then run a fresh calibration and check the result with a certified weight before you trust a reading.
What happens if you calibrate with weights that have expired certificates?
Your calibration loses traceability. An auditor cannot link your results to a known reference, and the measurement uncertainty of the weights is unknown. Check certificate dates before each use, store weights in their case, and replace or recertify them on schedule.
How do you know when a balance needs professional service?
Drift that keeps coming back after cleaning, leveling, and recalibration points to a deeper problem. The same is true for error codes that return after you clear them, or readings that fail a check with a certified weight. Stop weighing and contact service. Early repair protects your samples.
Does room temperature affect weighing accuracy?
Yes. Electronic sensors drift when the internal temperature changes, and drafts push the display around. Keep the room steady, away from sunlight and vents, and let the instrument warm up after you power it on. Close the draft shield during readings to slow settling.