



How accurate is an electronic balance?
 Oct 21, 2026|
 View:7
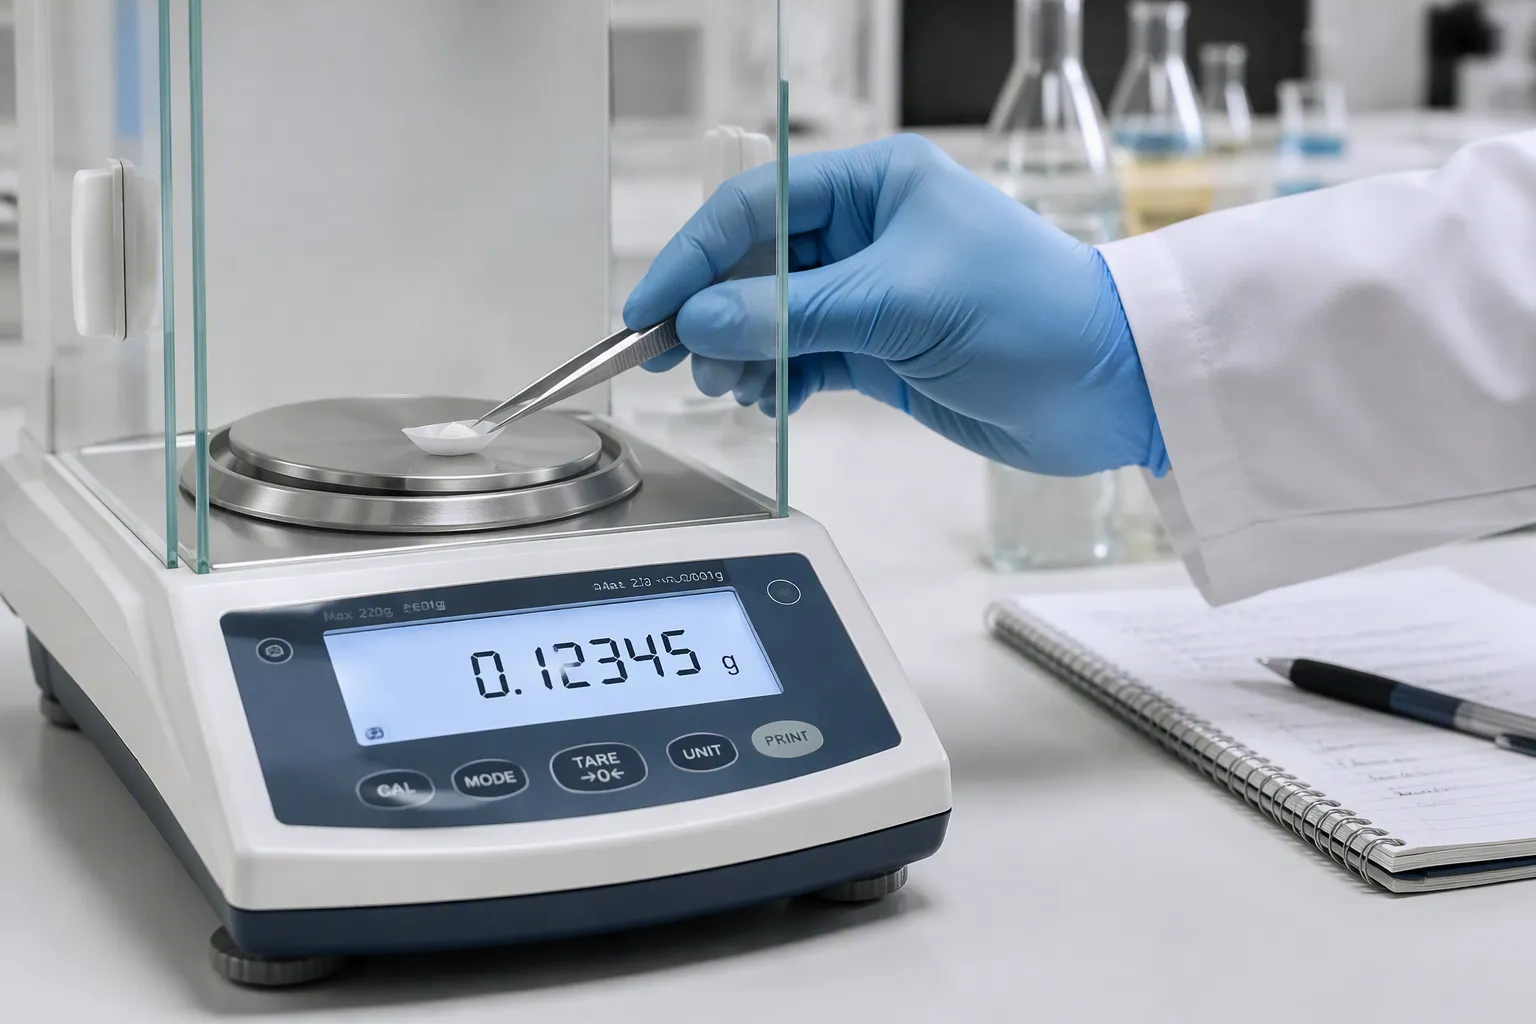
An electronic balance in laboratory work delivers high accuracy when you use it within its specifications. Depending on the model class, expect readings within about ±0.1 mg to ±0.1 g. That range covers sensitive analytical work and everyday weighing alike.
Accuracy is not a fixed promise, though. It depends on the instrument, the room, and how you handle each sample. You will see what accuracy really means for an electronic balance in laboratory settings, which conditions change a reading, and how routine checks keep results trustworthy. You will also learn how to confirm performance instead of assuming it.
Key Takeaways
Electronic balances give readings within ±0.1 mg to ±0.1 g when you use them the right way.
Accuracy means being close to the true value; precision means getting the same readings each time.
Keep the temperature, humidity, airflow, and vibration under control so the readings stay steady.
Check the balance often with certified weights, and test it every day to catch drift.
Pick a balance class that fits your job so you don't spend too much or get poor results.
What accuracy means for an electronic balance
Being close to the true value and being consistent across repeated readings are two different ideas. Both guide every choice you make about an electronic balance in laboratory work, from picking a model to your daily technique.
Accuracy versus precision
Accuracy is defined as the ability of a balance to display a value that matches the ideal value for a known weight — in simpler terms, how close the measured value is to the actual value.
Think of arrows hitting a target. Arrows bunched near the bullseye show high accuracy and precision together. Arrows grouped tightly but far from the center show consistency without closeness. A balance that adds an extra 0.01 grams to every reading has a systematic error. That error pushes every result away from the true value, not away from other readings, and you can often find and fix it through calibration. An accurate but imprecise balance might show 49 g, 51 g, 50 g, and 49.5 g for a 50 g weight.
Several specifications shape real-world performance. Readability is the smallest displayed increment. Linearity is the maximum deviation from a true standard across the full range of weight measurements, so linearity error can make a balance less accurate near capacity than in the middle of its range. Repeatability is the consistency of readings for the same object under identical conditions, and it is the gold standard of real performance. Stability covers stabilization time after loading and drift resistance over time. The calibration system aligns readings to international standards. Maximum capacity sets the heaviest weight the balance can measure. Electromagnetic sensors provide high resolution and long-term stability. Readability alone does not guarantee better results; it should be only a fraction of your required tolerance.
Analog vs. digital balance accuracy and precision
The analog vs. digital balance accuracy and precision debate has a clear answer for most labs. Digital laboratory balances read numbers directly. That design removes parallax error and the guesswork of reading a needle. Digital analytical balances reach readability down to 0.0001 g, and their precision far exceeds mechanical models. Electronic noise can disturb a digital reading in harsh electromagnetic environments, yet the numerical readout still reduces human reading errors.
Analog and digital laboratory balances differ in accuracy and precision, yet each serves different needs rather than competing. A mechanical balance stays stable in heavy vibration or extreme electromagnetic interference, where a digital display may jump erratically. Mechanical models also face parallax error, spring fatigue, thermal expansion, and linear error. They suit simple demonstrations, routine measurements, and sites without power. Digital analytical balances cost more and grow more expensive as features rise. Cost and power also differ. Mechanical models are simple, durable, and need no electricity. For research, pharmaceutical work, or any task where a tiny error in measurement matters, a digital analytical balance is the better fit. For daily trend tracking, consistency on the same scale matters more than the last decimal place.
Match the instrument to the job. Top-loading models handle approximate masses, such as making a buffer. Analytical balances handle samples under about 1 g, and they need draft shields because air drafts shift readings. Check accuracy, readability, repeatability against your tolerance before you buy. A quick check with certified test weights confirms performance before a critical run.
Accuracy factors for an electronic balance in laboratory settings
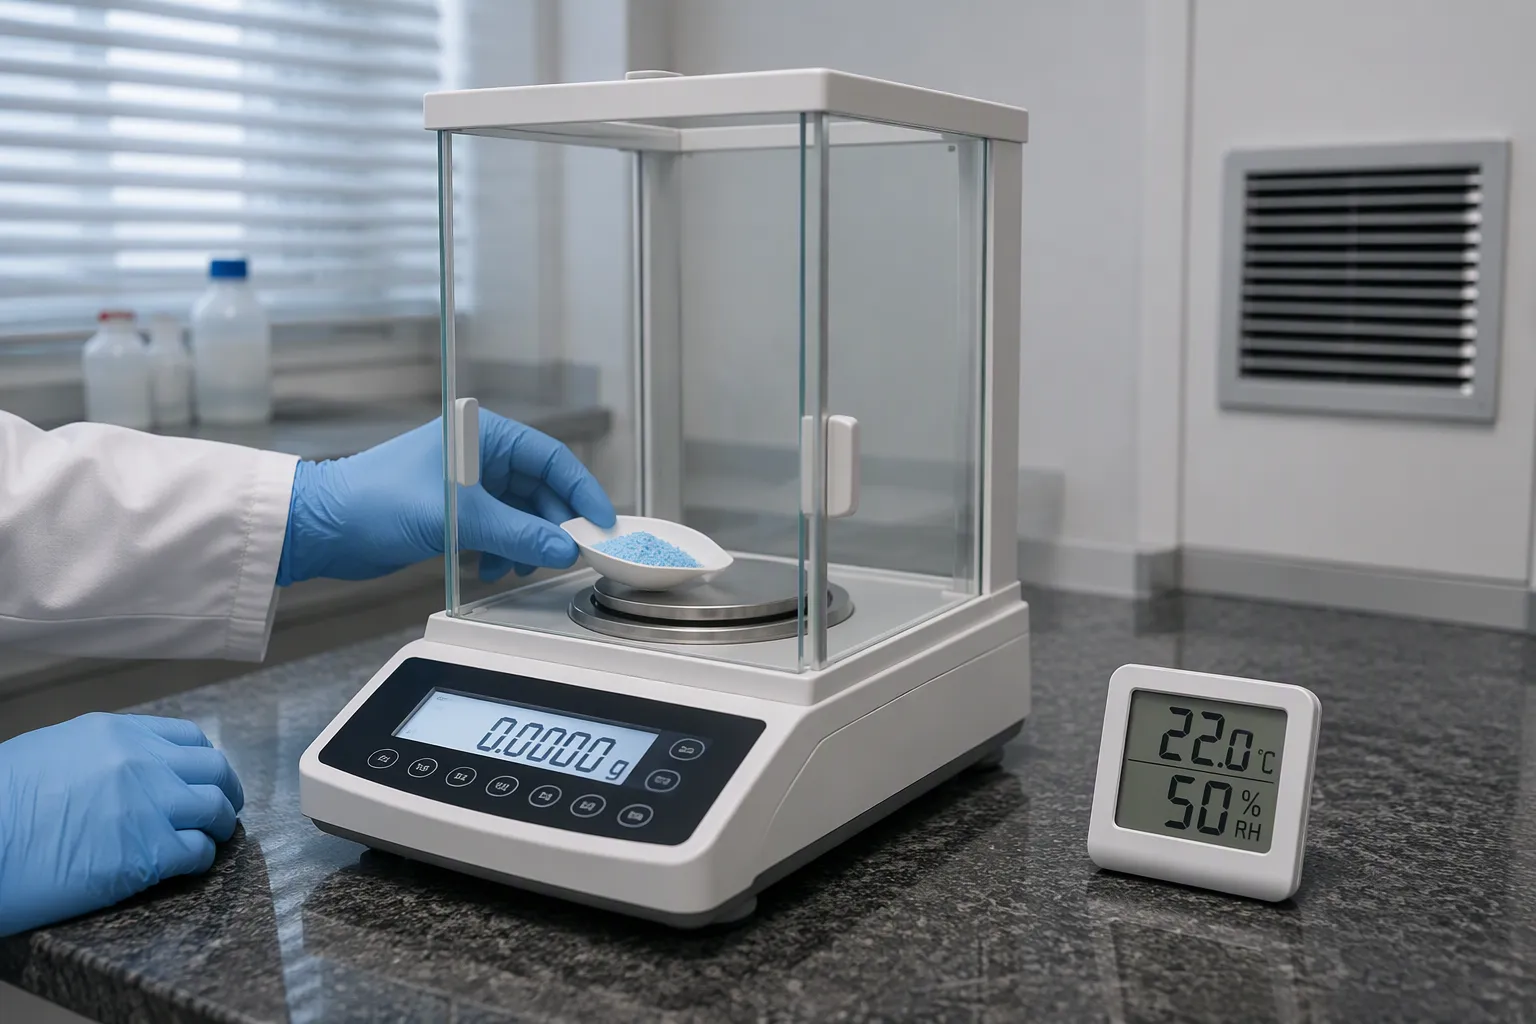
Environmental influences
Your balance works best in a room you can control. Temperature changes make internal parts expand and contract. A 1°C shift can change the weighing cell output in a way you can measure. Hot or cold samples create convection currents inside the draft shield, and those currents make readings unstable. Let samples equilibrate for 30 to 60 minutes before you weigh them. Place the instrument away from windows, exterior walls, and HVAC vents.
Humidity matters just as much. Low humidity builds static charges that attract or repel lightweight samples. High humidity brings moisture absorption, condensation, and corrosion. Keep relative humidity between 40% and 60% for stable weight measurements. Use antistatic devices for powders, plastics, and filters.
Factor | Effect on accuracy | Mitigation |
|---|---|---|
Temperature | Component expansion, load cell drift, convection from hot or cold samples | Stable room temperature; equilibrate samples 30–60 minutes |
Humidity | Static at low levels; moisture uptake and condensation at high levels | Keep relative humidity at 40–60%; use antistatic devices |
Air currents | Pressure changes from vents, doors, and foot traffic disturb the pan | Use a draft shield; keep doors closed during weighing |
Vibration | Floor and bench movement cause erratic display fluctuations | Place on a stable, vibration-resistant bench; level the feet |
Air currents are one of the most common causes of unstable readings on digital analytical balances. Ventilation systems, open doors, ceiling fans, and operator movement all create drafts. A draft shield isolates the weighing chamber, and closed doors shorten stabilization time. Mechanical vibration from nearby equipment, foot traffic, or elevators interferes with the sensor. Place the balance on a strong, freestanding surface away from heavy machinery.
Calibration and correct use
Correct technique turns a good instrument into a reliable one. Level the balance first. Center the bubble with the adjustable feet, and recheck it whenever you move the unit. An unlevel balance causes corner load errors that reduce accuracy. Allow warm-up time after power-on: about 30 minutes for standard precision models and 30 to 60 minutes for 0.0001 g digital analytical balances. Keep the balance in standby mode between uses so the sensors stay warm.
Proper weighing technique protects accuracy and precision. Use the tare function to subtract container weight. Prefer glass containers for stability and inertness. Clean the sample and container before each run. Standardize your handling steps and follow your SOPs. Ground the AC source and chassis to prevent electrical noise. Keep magnets and large electrical equipment away from electromagnetic-force-restoration models. These habits support precise, repeatable measurements day after day.
Calibration alone will not fix an unstable reading. If vibration, drafts, static electricity, or sample-temperature differences are present, address those causes first. Recalibrating without solving the underlying problem may leave the error in place. Treat calibration as one part of a complete accuracy program for every electronic balance in laboratory work.
Verifying and maintaining accuracy
Routine calibration and testing
Calibration ties your readings to a known standard. Use certified weight sets that trace to a national standard, and follow the schedule your quality system sets. Handle the weights with gloves or forceps. Oils from your fingers add mass and slowly change the true value of each weight. Store the set in its case, away from dust and moisture.
Routine performance testing catches drift between full calibration events. Check repeatability by weighing the same test weight several times. Check linearity at points across the range, not only near capacity. WANT Balance Instrument Co., Ltd. supplies weight sets and accessories that support this work on digital analytical balances and other models. A written test log turns each check into proof you can show an auditor.
Daily checks and good practices
Start each day with a short inspection. These checks take a few minutes and protect the accuracy and reliability of measurements all day.
Make sure the level bubble sits centered, and adjust the feet if it does not.
Look over the pan and chamber for dust, debris, or moisture, and clean surfaces as the manufacturer permits.
Check that the display returns to zero when unloaded, and watch for error messages or unstable readings.
Look at cables and connectors for damage that could cause signals to cut in and out.
Run a test weight before critical work to catch deviation between calibrations.
Good technique then carries you through the day. Close the draft shield while you weigh, and keep it closed afterward to block dust. Place only glass, ceramic, metal, or plastic containers on the pan. Never handle samples with bare hands, because moisture and grease from fingers change weight measurements. Let every object reach room temperature first. Warm items create convection currents and read lighter than they are. Tare the balance before each sample, and never weigh chemicals directly on the pan. For samples that absorb moisture, use weighing by difference to limit air exposure. These habits keep your precise measurements stable on any electronic balance in laboratory settings.
Matching balance class to high-accuracy laboratory work
Balance classes differ in what they can promise. Analytical balances hold readings to within 0.1 mg or better. Precision balances offer around 0.001 g readability. Digital scales span 0.01 g to 1 g. Each class fits a different job, and none of them is wasted effort.
WANT Balance Instrument Co., Ltd. builds electronic balances, moisture analyzers, viscometers, and mechanical balances for laboratory, food, medical, and education users. That range lets you match the instrument to the task instead of overspending on capability you will never use.
Reading specifications for digital analytical balances
Read the spec sheet with care. Readability is the smallest step the display can show, and 0.1 mg is common for an analytical balance. Linearity is the gap from the true load across the full range, and high-end models reach about ±0.2 or ±0.3 mg. A 10 g weight should read 10 g, a 20 g weight should read 20 g, and both together should read 30 g, with small gaps expected.
Linearity decides whether a digital analytical balance meets your tolerance. A unit with 0.1 mg readability but 0.3 mg linearity cannot deliver 0.1 mg accuracy. You need linearity at least as tight as your target, which points to a semi-micro model with 0.01 mg readability. Ask for written linearity figures, suggested verification points, and multi-point testing guidance. A single-point adjustment will not cover a broad working range.
When higher accuracy is worth it
Higher accuracy pays off when errors carry real cost. Aging equipment loses accuracy and can trigger compliance issues or recalls. Modern instruments with automated calibration and real-time monitoring hold results steady. Faster throughput and lower maintenance often recover equipment costs within one to three years.
Weigh the decision against your workload. A lab running trace-level samples needs the resolution of a highly sensitive analytical balance. A teaching lab tracking trends gains little from it. Check appropriate capacity, readability, repeatability against your tolerance before you commit. For high-accuracy measurements, the extra spend buys confidence, not decoration.
Getting accurate results with an electronic balance begins with picking the right one. Choose a model that fits your job, set it on a steady, flat surface, and calibrate it on a regular schedule. Digital analytical balances and other digital lab balances meet their stated specs when you use them the way they were designed to be used. Keep the room steady, give the balance time to warm up, and handle samples carefully.
Don't just assume your weight measurements stay correct. Check them. Run a test weight check before important work, write down the result, and do it again on a routine basis. That habit turns a number on a datasheet into confidence you can defend.
FAQ
How accurate is an electronic balance compared with a mechanical one?
A digital model usually gets closer to the true value. Digital analytical balances can read down to 0.0001 g and remove parallax error. A mechanical balance stays steady under heavy vibration and needs no power. Match the instrument to your task.
What causes an electronic balance to give unstable readings?
Drafts, vibration, static, and temperature shifts all disturb the sensor. Hot or cold samples create convection currents inside the draft shield. Let samples equilibrate for 30 to 60 minutes. Keep relative humidity between 40% and 60%. Close the draft shield during weighing.
How often should you calibrate digital analytical balances?
Follow the schedule your quality system sets. Use certified weight sets that trace to a national standard. Run repeatability and linearity checks between full calibrations. Log every result. A written record proves performance to an auditor and catches drift early.
Can a balance with 0.1 mg readability deliver 0.1 mg accuracy?
Not always. Linearity decides real performance. A unit with 0.1 mg readability but 0.3 mg linearity cannot hold 0.1 mg accuracy. Check linearity against your tolerance. For tighter work, consider a semi-micro model with 0.01 mg readability.
Do digital analytical balances need warm-up time before use?
Yes. Allow about 30 minutes for standard precision models and 30 to 60 minutes for 0.0001 g digital analytical balances. Keep the unit in standby between uses so the sensors stay warm. A cold sensor drifts and slows stabilization.


Recent News
1.How an Analytical Balance Works and How to Choose One
2026-10-092.Electronic Balance: Types, Components, Accuracy, and How to Choose
2026-09-103.Key Factors to Consider When Buying a Laboratory Balance in 2026
2026-08-314.What Makes a Reliable Electronic Balance Supplier?
2026-09-025.Who Makes the Best 0.01g Electronic Balance in China?
2026-09-156.Choosing the Best Electronic Scale for Laboratory Inventory and Parts Counting
2026-07-307.Top 10 Electronic Balance Manufacturers in China 2027
2026-07-16