



How an Analytical Balance Works and How to Choose One
 Oct 09, 2026|
 View:14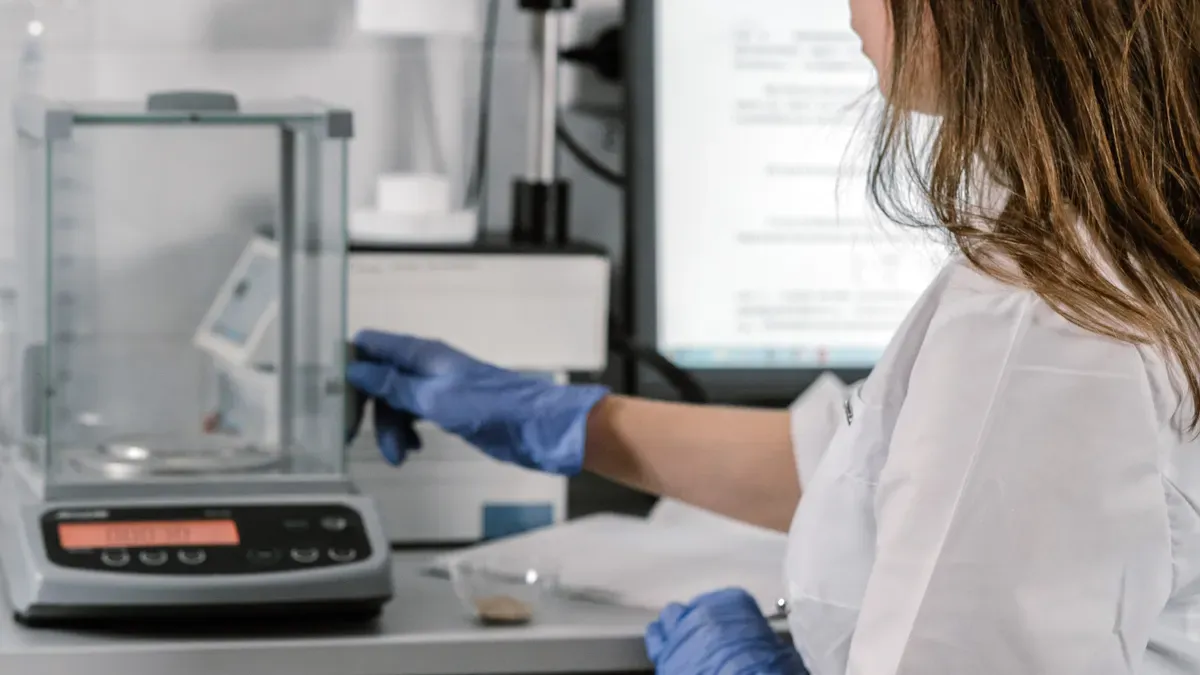
An analytical balance measures mass using electromagnetic force compensation. A coil makes a magnetic force that balances the sample's weight. The current needed shows the mass. This design gives great sensitivity for precise lab work.
This principle gives the sub-milligram accuracy that quality control and research need. Even tiny errors can skew results in reagent preparation or sample analysis. Reliable readings protect your data and your conclusions.
You will learn how the mechanism works step by step. You will also find out how to pick the right analytical balance for your lab's needs. This guide covers specifications, features, and maintenance practices.
Key Takeaways
An analytical balance uses electromagnetic force to measure very small masses.
Pick an analytical balance for small samples. Pick a precision balance for larger samples.
Pick a balance that fits your smallest sample and your heaviest container.
Shut the draft shield. Keep the balance flat on a steady table.
Check the balance on a set schedule using certified weights.
What Is an Analytical Balance?
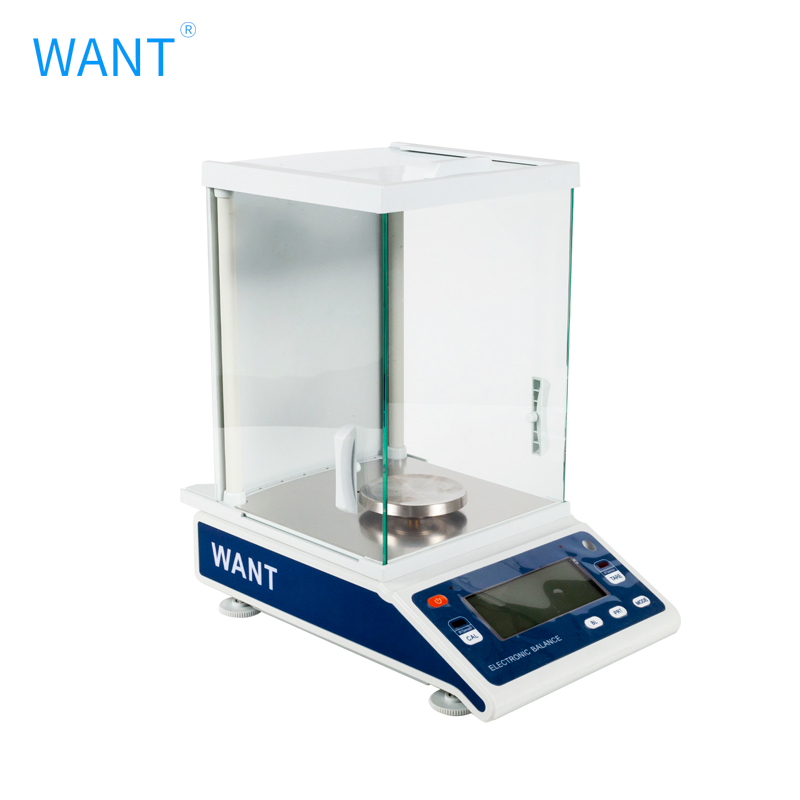
This balance gives you the highest level of precision in lab weighing. It can measure mass down to 0.1 milligram or even smaller. You use it for fine powders, reagents, and biological samples. As a weighing balance, it measures force, not mass directly. The balance detects weight, then turns that force into a mass reading using electromagnetic force restoration technology.
Definition and Purpose
This instrument depends on several metrological features. A design that resists vibration keeps readings steady. Algorithms that adjust for the environment fix small changes in air temperature and pressure. A closed weighing chamber protects the pan from air currents. Internal calibration weights let the balance check itself. Data-management software helps you save results. Each measurement relies on these supports. The result is sub-milligram accuracy for tough laboratory work. That precision matters for chemical analysis, where a tiny error can change the outcome.
For example, when you make a calibration standard or weigh a biological sample, you need an exact mass measurement. A difference of one-tenth of a milligram can matter.
Analytical balances commonly offer readability of 0.0001 grams or finer, along with features such as draft shielding and internal or external calibration, making them suitable for fine powders and biological samples.
Precision Balance vs Analytical Balance
You might ask how these two instruments are different. They differ in capacity and readability. The analytical balance vs precision balance choice depends on your sample and the resolution you need.
Balance Type | Readability | Capacity |
|---|---|---|
Analytical | 0.0001 g (0.1 mg) or finer | Up to 200–320 g |
Precision | 0.001 g (1 mg) to 0.01 g (10 mg) | Up to several kg (sometimes 64 kg) |
Use this instrument for small masses that need high resolution. It comes with a draft shield because it reacts strongly to air movement. Use the coarser-reading model when capacity matters more and milligram-level readings are enough. This makes the two types easy to compare.
How an Analytical Balance Works
Electromagnetic Force Compensation
Put a sample on the pan. Gravity pulls it downward. The balance senses this pull and creates an opposite electromagnetic force to move the pan back to where it started. The electric current needed to keep that balance shows the sample's mass. This is electromagnetic force compensation, the key idea behind every analytical balance.
An analytical balance works by magnetic force restoration. It uses an electromagnet to measure a sample's mass, not actual masses. The balance detects the sample's weight and makes an electromagnetic force to counterbalance it. The force needed for that balance is measured and turned into a weight reading. This principle lets a lab analytical balance give highly precise measurements.
This design works better than older strain gauge technology in several ways. Strain gauges rely on bending metal, which causes fatigue and drift over time. Electromagnetic force compensation uses frictionless magnetic-coil feedback, so mechanical fatigue almost never happens. It keeps repeatability at ±1 mg, while strain-gauge balances drift to ±3–5 mg under long-term load. Linearity deviation stays at ±2 mg across the span, compared to ±5–10 mg for strain-gauge cells. Active temperature-compensation algorithms also keep readings stable when room conditions change.
Key Components and Functions
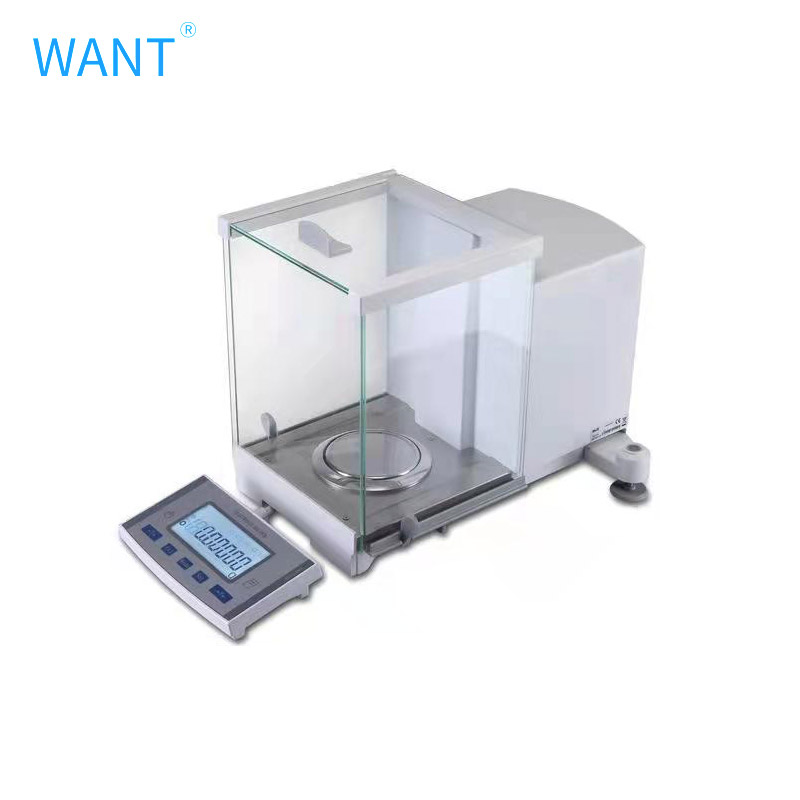
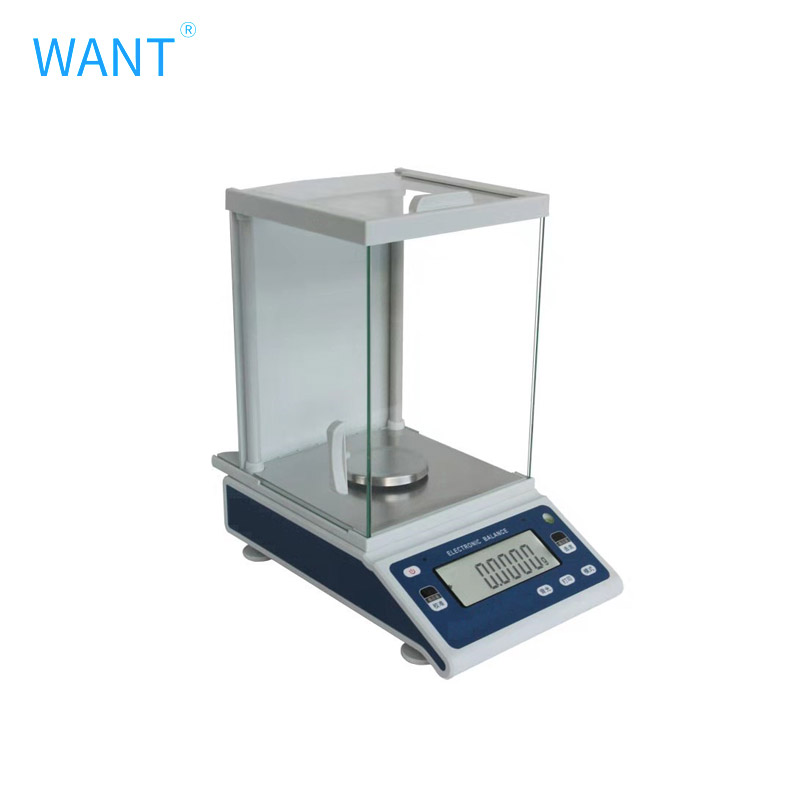
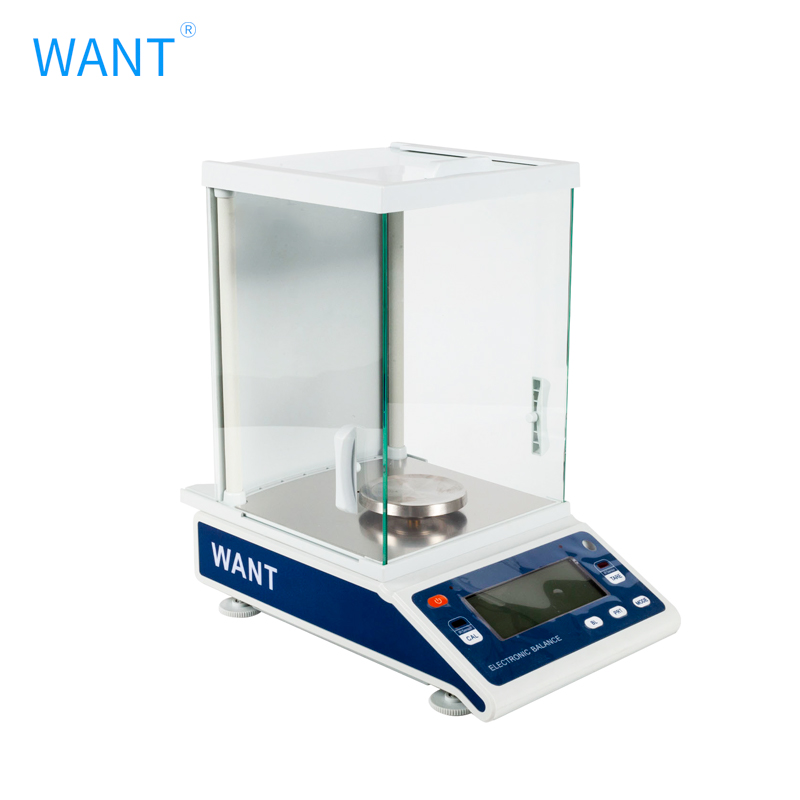
Every part of an analytical balance has a specific job in the measurement chain. The weighing pan holds your sample. When mass is added, the pan drops and starts the balancing process. The draft shield blocks air currents that could disturb the reading. The electromagnetic coil floats in a permanent magnetic field. It gets more current from the feedback system to push the pan back to its null position. A position sensor detects any movement from that null point. The feedback circuit then adjusts the current until balance returns.
Component | Role |
|---|---|
Weighing pan | Holds the sample; initiates the balancing process when mass is added |
Draft shield | Prevents air currents from disturbing the measurement |
Electromagnetic coil | Receives current to push the pan back to its null position |
Position sensor | Detects displacement from the null position |
Feedback circuit | Increases current in the coil to restore balance |
Analytical and precision balances need stable surroundings to work well. Even tiny air currents can shake the reading. Keep the draft shield and balance doors closed during every measurement. Vibration from nearby equipment, footsteps, or uneven surfaces also changes readings. Put your weighing balance on a solid, level surface or an anti-vibration table. Heavy, vibration-damped tables with granite or stone tops isolate the balance from shaking and can lower measurement variability by up to 70%. Temperature changes cause airflow around the sample. Let samples reach room temperature before you weigh them. Clean the weighing area often, even when no residue is visible, to avoid contamination from previous procedures. These practices protect the sensitivity of your instrument and ensure reliable results for chemical analysis and other precision work.
Types of Analytical Balances
Top-Loading, Semi-Micro, and Micro
When you shop for a weighing balance, you will see several classes of instruments. Each class gives a different level of ultra-fine precision. A top-loading precision balance reads to 0.001 g and holds samples from 120 g up to 22 kg. These models work well for larger samples where milligram resolution is enough. A standard analytical balance reads to 0.1 mg and covers capacities from 22 g to 520 g. You use it for routine reagent weighing and quality control. A semi-micro balance brings readability to 0.01 mg with capacities from 50 g to 220 g. Micro balances go even further, reaching down to 0.1 µg with very small capacities of 3 g to 10 g. The table below sums up these differences.
Balance Type | Readability | Capacity Range |
|---|---|---|
Top-Loading / Precision | 0.001 g | 120 g – 22 kg |
Analytical | 0.1 mg | 22 g – 520 g |
Semi-Micro | 0.01 mg | 50 g – 220 g |
Micro | down to 0.1 µg | 3 g – 10 g |
This comparison of analytical vs top loading balance shows a clear trade-off. Finer readability means lower capacity. You pick the class that fits your smallest sample and your heaviest container.
Single-Range vs Dual-Range
A single-range analytical balance gives you one fixed readability across its whole capacity. This design works well when your samples stay within a narrow mass range. A dual-range model switches by itself to a finer readability for small samples. That finer setting is usually ten times better, or one more decimal place. You still get the higher capacity for larger samples in the same instrument. This flexibility saves bench space and budget. You do not need two separate balances to handle both micro-samples and heavier containers. Typical capacities for analytical balances range from about 200 g to 320 g, with some models reaching higher. Choose dual-range when your workflow mixes small and large samples. Choose single-range when your sample sizes are consistent and you want a simpler instrument.
Key Specifications for a Precision Analytical Balance
Readability, Capacity, and Linearity
Readability is the smallest weight change your weighing balance can display. This sets the resolution limit, but accuracy is different. A balance can show tiny changes but still produce readings that drift from the true value. Capacity means the heaviest load the pan can hold. Match this number to your sample weight plus the tare vessel, and leave extra room for future needs. Linearity tells how close readings stay to the true value across the full range. If the balance is right at 10 g, it should also be right at 100 g.
These three specs matter together. Finer readability usually comes with lower capacity. For pharmaceutical-grade work, choose a 210 g analytical balance with 0.0001 g readability and plus or minus 0.0003 g linearity. A 5000 g precision balance with 0.01 g readability and plus or minus 0.03 g linearity can handle broader formulation jobs, but it cannot match that accuracy. Pick the balance that fits your sample size and workflow, not just the finest numbers.
Specification | What It Means | Why It Matters |
|---|---|---|
Readability | Smallest change the display shows | Sets resolution but does not guarantee accuracy |
Capacity | Heaviest load the pan can hold | Too low risks overload; too high can reduce precision |
Linearity | Error across the full range | Limits how accurate any reading can be |
A precision analytical balance can cost anywhere from a few hundred to several thousand dollars. Finer readability, larger capacity, and tighter linearity raise the price. Base your choice on your actual needs, not the headline spec alone.
Repeatability and Sensitivity
Repeatability tells how steadily the balance gives the same reading for the same load under the same conditions. This spec predicts real-world reliability better than readability alone. Under USP Chapter 41, test repeatability with at least 10 repeated weighings of one test weight. The balance passes when 2 times the standard deviation divided by the desired smallest net weight is no more than 0.10 percent. So minimum net weight = 2000 times s, where s is the standard deviation. If s falls below 0.41d, use that floor instead to avoid display-rounding effects.
Sensitivity is how well the balance can notice small changes in load. Temperature is the second largest cause of sensitivity errors in analytical balances. When the temperature coefficient for sensitivity is 2 ppm per degree Celsius, a 5 degree Celsius change can move a 200.0000 g reading to 200.0020 g. So the reading drifts by 0.0020 g. Let samples reach room temperature before weighing them. Avoid direct sunlight and equipment that gives off heat. Leave it on so its internal parts stay warm and stable. These habits protect sensitivity and keep your readings reliable.
Features That Matter When Buying
Calibration and Internal Adjustment
Calibration keeps your analytical balance accurate over time. You have two main choices. Internal calibration uses a built-in motorized weight. The balance can self-calibrate on a schedule, after temperature changes, or after power loss. This hands-off method saves time and lowers human error. External calibration means you place certified weights on the pan by hand. This method costs less upfront, but you must handle weights with care and plan the work.
Aspect | Internal Calibration | External Calibration |
|---|---|---|
Procedure | Automatic, built-in weight | Manual, certified external weights |
Convenience | Hands-off, no risk of forgetting | Time-consuming, must be scheduled |
Typical use | Busy labs needing high accuracy | Labs with specific quality procedures |
Internal calibration works well for high-volume labs. External calibration gives you independent verification and supports regulatory compliance. Many labs use both methods together.
Draft Shields, Leveling, and Data Output
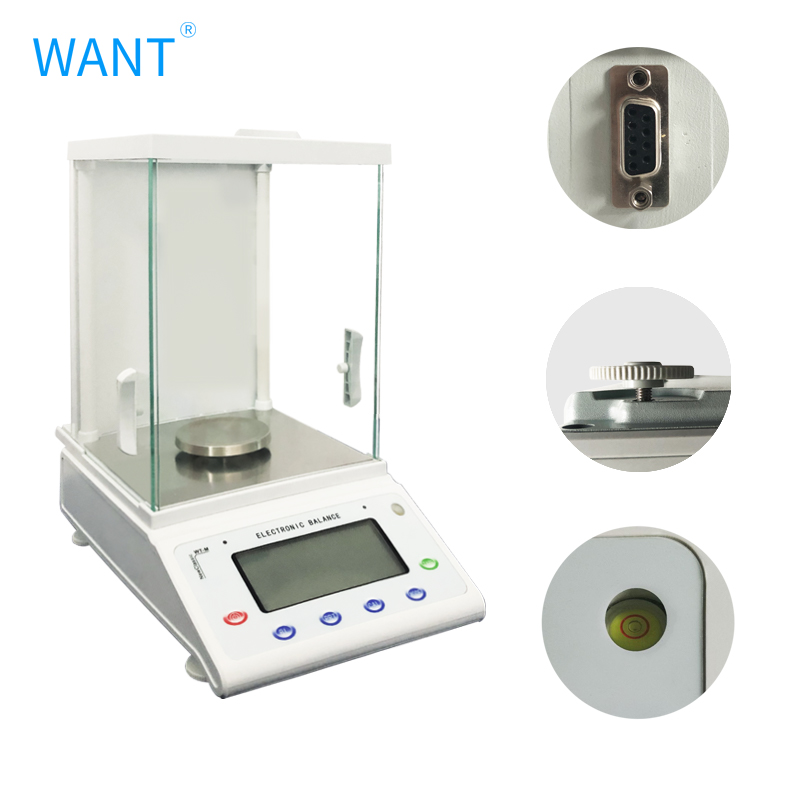
Draft shields block air currents that disturb sensitive measurements. Keep the draft shield closed during every weighing. Open it only to place or remove samples. This simple habit steadies readings and improves accuracy. Leveling also matters. Use the adjustable feet and built-in level indicator before each session. A level weighing balance gives you results you can repeat. Install it on a stable, vibration-resistant bench away from doors and heavy equipment.
Data output options affect your workflow. USB, RS-232, Ethernet, and Wi-Fi connections let you send results to a printer or LIMS. This cuts manual entry errors and speeds up record keeping.
The WANT 0.1mg Analytical Balance (FA series) offers 0.1 mg readability and capacities from 0 to 320 g, with select models reaching 520 g. It uses electromagnetic force technology for stable results. An optional touch screen makes operation simpler, and internal calibration keeps accuracy. WANT produces these instruments under an ISO-certified system with CE and RoHS compliance. You also get 24-hour response support and flexible OEM/ODM services.
Calibration, Maintenance, and Troubleshooting
Routine calibration keeps your analytical balance working well for many years. In GLP labs, you must follow a set schedule for calibration and maintenance. You also need to write down each activity for audit purposes. This practice protects your data and keeps your results valid.
Routine Calibration and Verification
Start every calibration session by warming up the instrument for at least 30 minutes. This step steadies internal parts and reduces drift. Then do external calibration using certified weights. For milligram-resolution work, use E2 or F1 class weights. Write the calibration date and technician in your logbook. Also write down any adjustments you make.
Your lab type decides how often you calibrate. A pharmaceutical or cGMP lab usually calibrates every 6 months. A clinical CAP/CLIA lab calibrates at least once a year. Research labs often calibrate once a year, with semi-annual checks suggested under GLP. High-use or high-criticality balances may need more frequent attention. Always explain your chosen interval with historical records and usage data.
Verification is not the same as formal calibration. Use a check weight kept near your balance for daily or weekly performance checks. This simple routine catches drifting accuracy before it affects your work. The table below outlines what to document for GLP compliance.
GLP Documentation Requirement | Description |
|---|---|
Calibration weight class | E2 or F1 for milligram-resolution work |
Calibration record details | Calibration date and technician |
Daily verification | Performance verification logs using a check weight kept near the balance |
Out-of-tolerance procedure | Documented procedure for quarantining results since last good check |
Use automatic internal calibration when environmental conditions change. Your balance can self-adjust after temperature swings or power loss. This built-in feature keeps accuracy between external checks.
Common Issues and Quick Fixes
Several factors can cause unstable readings and drift. You can fix most issues quickly once you know the source.
Air currents: HVAC airflow, fans, and doors disrupt readings. Close the draft shield during every measurement.
Vibration: Foot traffic and nearby pumps disturb the pan. Place the balance on a stable anti-vibration table.
Temperature imbalance: Samples warmer or colder than the chamber create convection currents. Acclimatize samples for 30–45 minutes before weighing.
Static electricity: Plastic containers and dry air cause erratic readings. Use anti-static labware and maintain 40–60% RH humidity.
Mass transfer: Volatile samples evaporate, causing downward drift. Hygroscopic samples absorb moisture, causing upward drift. Use sealed containers.
Operator practices: Recording before stabilization creates errors. Wait for the reading to settle, then record.
Before you assume your analytical balance is faulty, troubleshoot step by step. Check leveling, clear debris under the pan, and make sure the draft shield closes properly. Proper zeroing starts each session. You press the tare or zero button with the empty pan, then wait for stabilization. This habit keeps sensitivity and stability for consistent results.
These steps preserve the accuracy you rely on for critical measurements.
Choosing the Right Balance for Your Lab
Applications and Workflows
Your lab's tasks should guide your choice; each industry needs different accuracy levels. A textile lab may check fabric weight, and a food lab verifies ingredient amounts and fill weights. Medical facilities weigh reagents for precise testing, schools teach weighing technique; research labs prepare standard solutions for chemical analysis.
This table links common applications to balance types:
Laboratory Application | Recommended Balance Type | Key Requirement |
|---|---|---|
Analytical chemistry, pharmaceutical R&D | Analytical | Microgram-level accuracy for trace measurements |
Quality control, general lab use, education | Precision | Milligram-level accuracy, higher capacity |
Routine weighing, bulk sample preparation | Precision | Milligram accuracy, larger sample sizes |
Sensitive experiments, pipette verification | Analytical | Microgram accuracy, draft-free environment |
Sample size also matters because analytical balances fit small samples and need draft-free, stable surfaces. Precision balances handle larger amounts and tolerate normal lab conditions. This precision vs analytical balance choice shapes the workflow.
Budget, Brand, and Support
Your budget helps you choose the right scale. Entry-level models are cheaper with minimal features. Mid-range instruments add data logging and connectivity. High-end precision analytical balance models include internal calibration and industry certifications. Finer readability drives the price up.
Think about total cost of ownership. Recurring costs include third-party verification, spare parts, and extended warranties. Software integration fees may also apply. Add these into your budget.
Brand support also counts. WANT Balance Instrument Co., Ltd. has a strong support network. Its 0.1mg balance gives 0.1 mg readability and capacities up to 520 g. A draft shield and optional touch screen make operation easier. These instruments use electromagnetic force technology and come from ISO-certified production with CE and RoHS compliance. You get support answers within 24 hours.
When you compare an analytical balance to a precision balance, you will see the trade-off. The main difference comes down to capacity versus readability. Choose a precision balance for larger samples. Choose an analytical balance when sub-milligram sensitivity matters. A highly accurate and reliable balance protects your data. Your samples, environment, and budget define the right choice.
Now you know the two main ideas behind using an analytical balance. First, electromagnetic force compensation gives your lab the sub-milligram accuracy it needs. Second, the right balance comes from matching specs, features, calibration needs, and your own tasks.
Pick your analytical balance by comparing sample size with readability needs. Calibrate it on a regular schedule. Keep the draft shield closed and the balance level. These habits protect every result you record.
Use this advice with confidence. Your samples, workflow, and budget will point you to the right instrument. You can now choose well and weigh accurately. The accuracy you need is within reach.
FAQ
How does an analytical balance measure mass?
It uses electromagnetic force compensation. A coil makes a magnetic force that balances the sample's weight. The current needed to bring the pan back to its null position shows the mass. This frictionless design gives you sub-milligram accuracy for fine powders, reagents, and biological samples.
What is the difference between an analytical balance and a precision balance?
Readability and capacity set them apart. An analytical balance reads to 0.1 mg or finer and holds up to about 320 g. A precision balance reads to 1 mg or 10 mg and holds several kilograms. Pick based on your smallest sample and resolution needs.
How often should I calibrate my balance?
Your lab type decides the schedule. Pharmaceutical and cGMP labs usually calibrate every 6 months. Clinical CAP/CLIA labs calibrate at least once a year. Research labs often calibrate yearly with semi-annual checks. Always write down each calibration for audit purposes.
What capacity do I need for my samples?
Match capacity to your sample weight plus the tare vessel. Leave extra room for future needs. Typical analytical balances range from about 200 g to 320 g, with some models reaching 520 g. A precision balance handles larger samples when milligram resolution is enough.